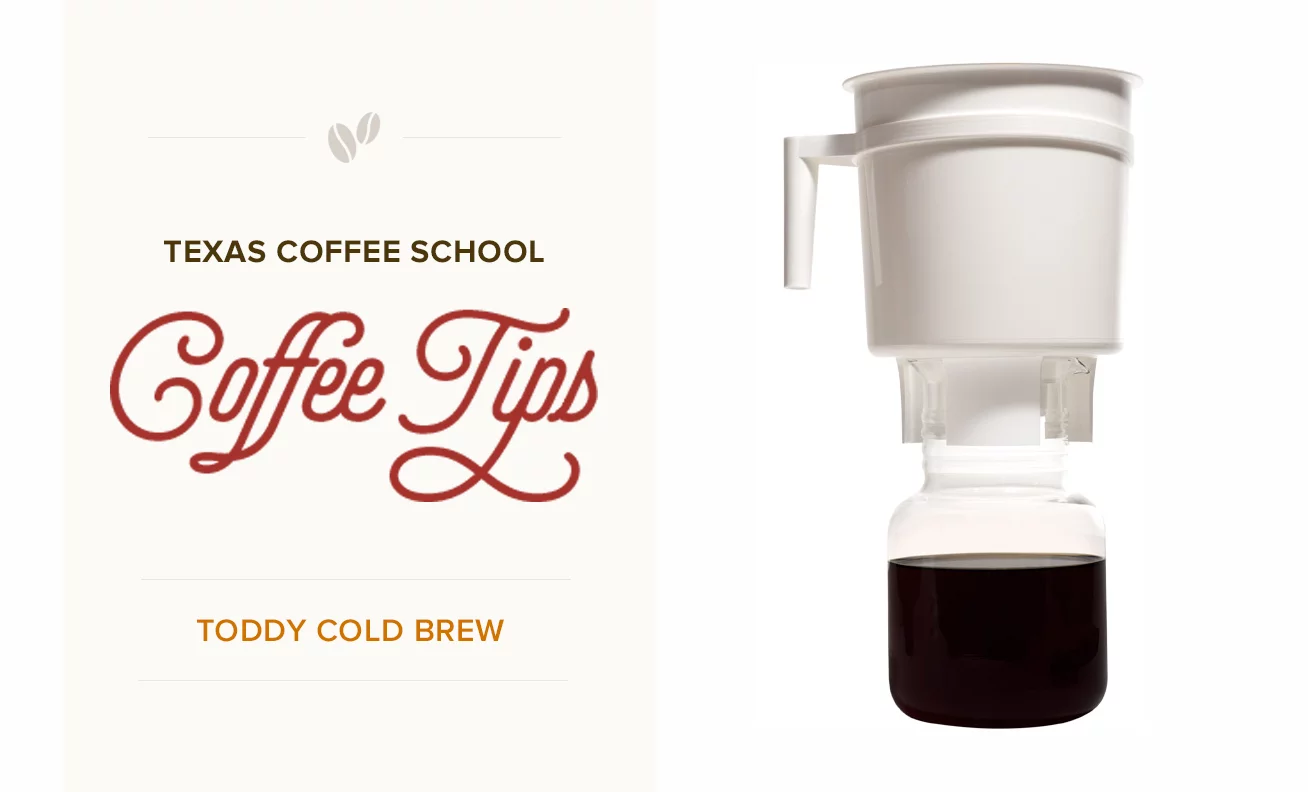
How To Make Vacuum Siphon Coffee: A Step-By-Step Brew Guide
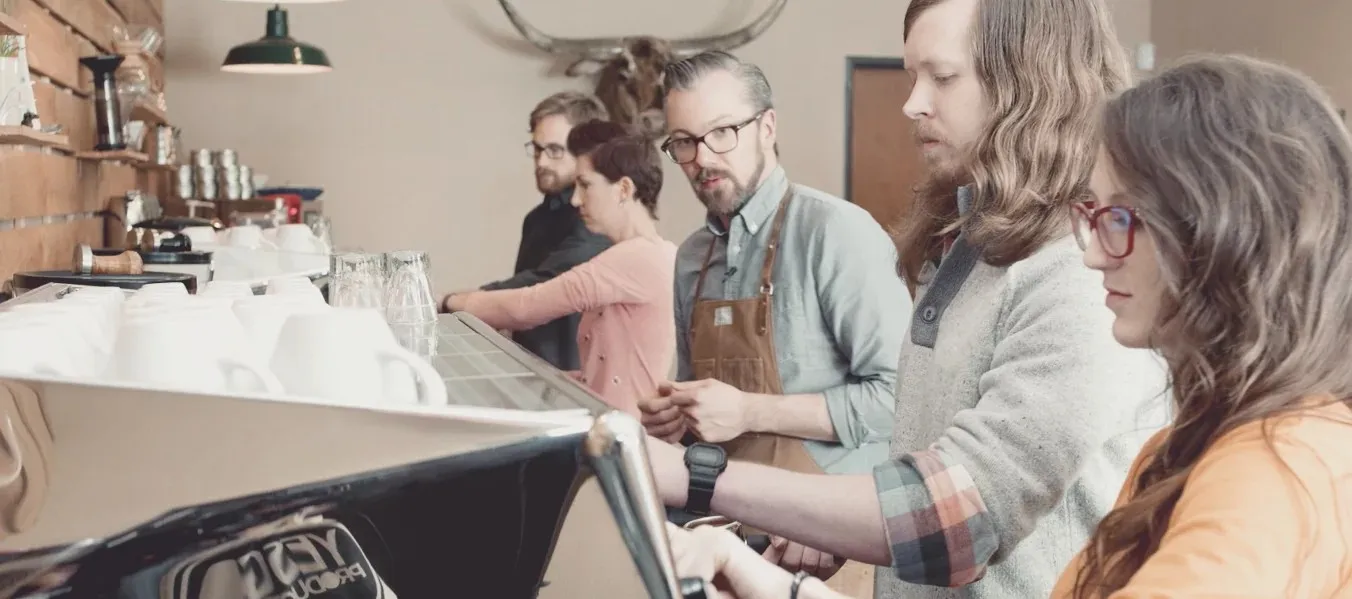
Below you will find the Texas Coffee School step-by-step guide for how to make vacuum siphon coffee. You will learn the specific parameters, technique, and best practices essential to making outstanding coffee with your “vacpot.” If you want to learn more about coffee extraction and gain an in-depth understanding of every primary coffee brewing method, check out our Coffee Education Program for a complete list of upcoming coffee classes and barista training workshops.
ABOUT THE BREW METHOD:
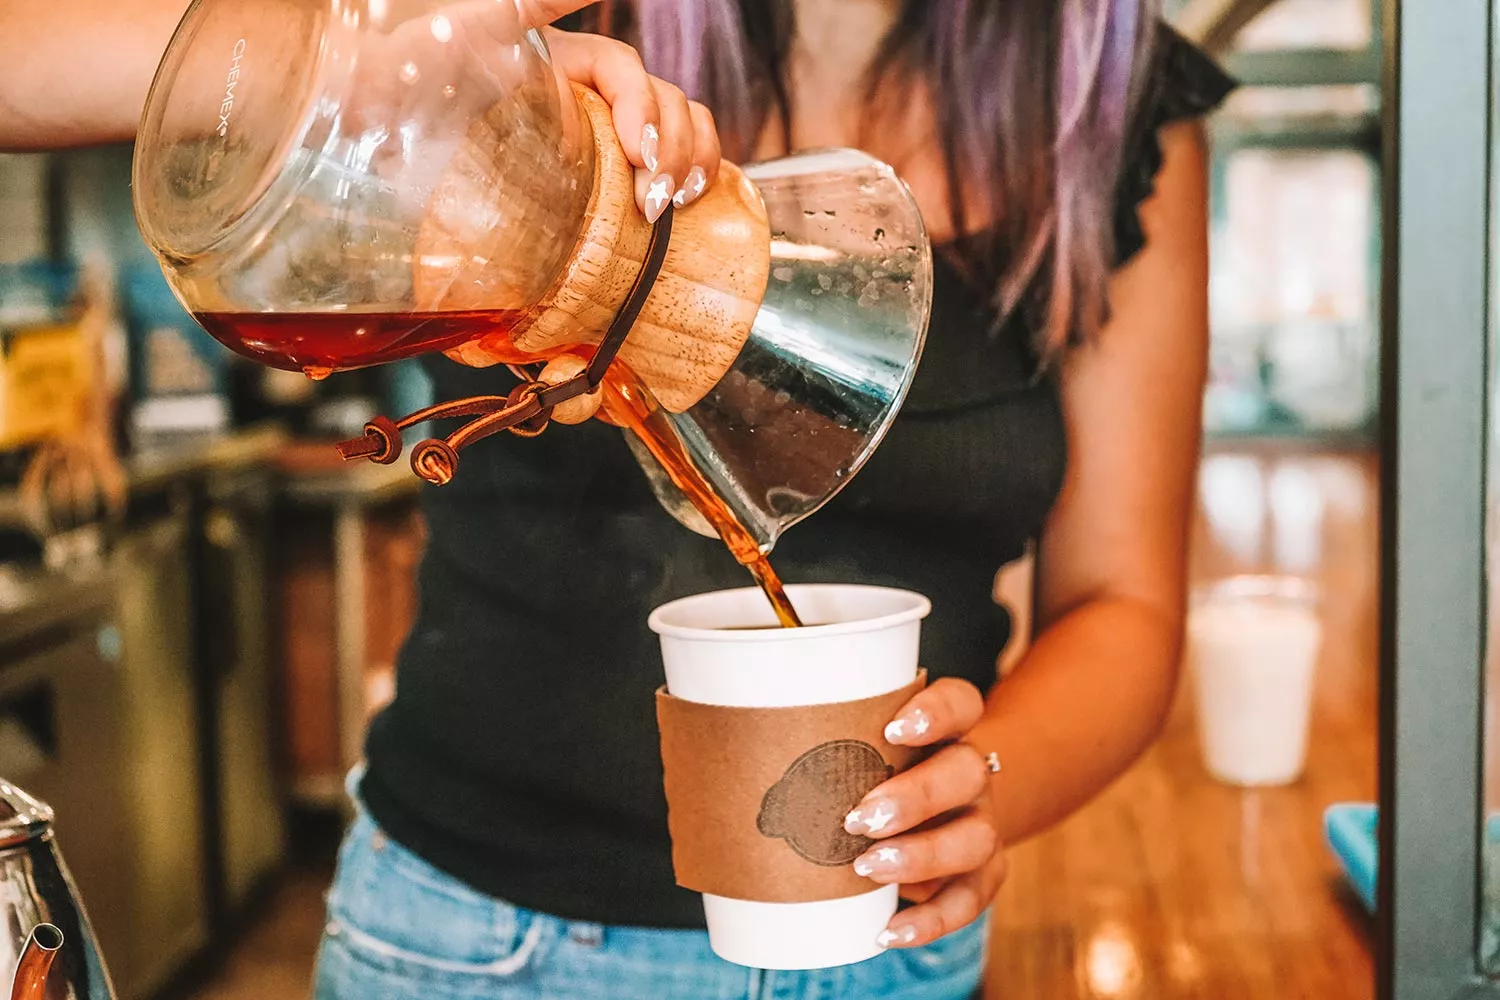
Siphon coffee has been around since the 1840s and has had several resurgences of popularity over the decades. A vacuum siphon coffee pot works on the principle of expansion and contraction of gases – specifically, water vapor. Water vapor is what allows the device to brew a full infusion style of coffee and filter the grounds efficiently, leaving a generally clean, pristine cup.
Siphon coffee pots are made up of four parts: the bottom container where the water initially sits and the brewed coffee eventually rests; a top container that has a siphon tube attached to it, where the coffee brewing takes place; a type of sealing material (usually a rubber gasket) to help create a partial vacuum in the lower chamber while brewing is taking place, and a filter, which can be made of glass, paper, metal, or cloth.
There is also a heating source, and there’s usually three types – a cloth-wick alcohol burner (slowest), gas or electric stovetop (faster), or a specialty butane burner (fastest). There are additional heating devices, including the halogen burner system which are best for achieving more precise temperatures and best tasting results.
WHAT YOU WILL NEED:
- Hot water (202°F)
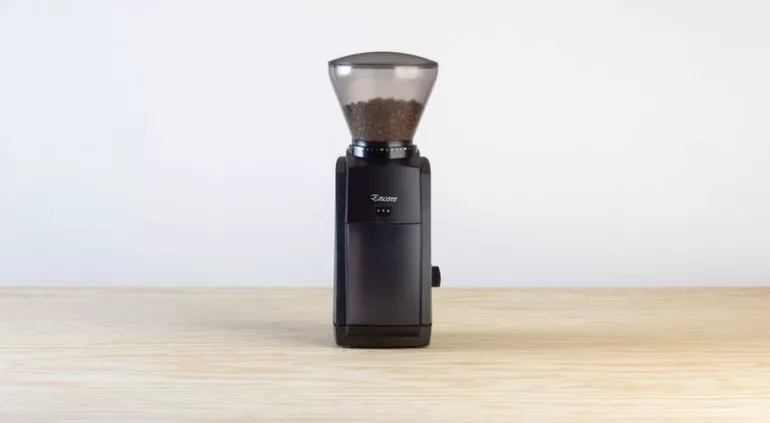
- A high-quality burr grinder
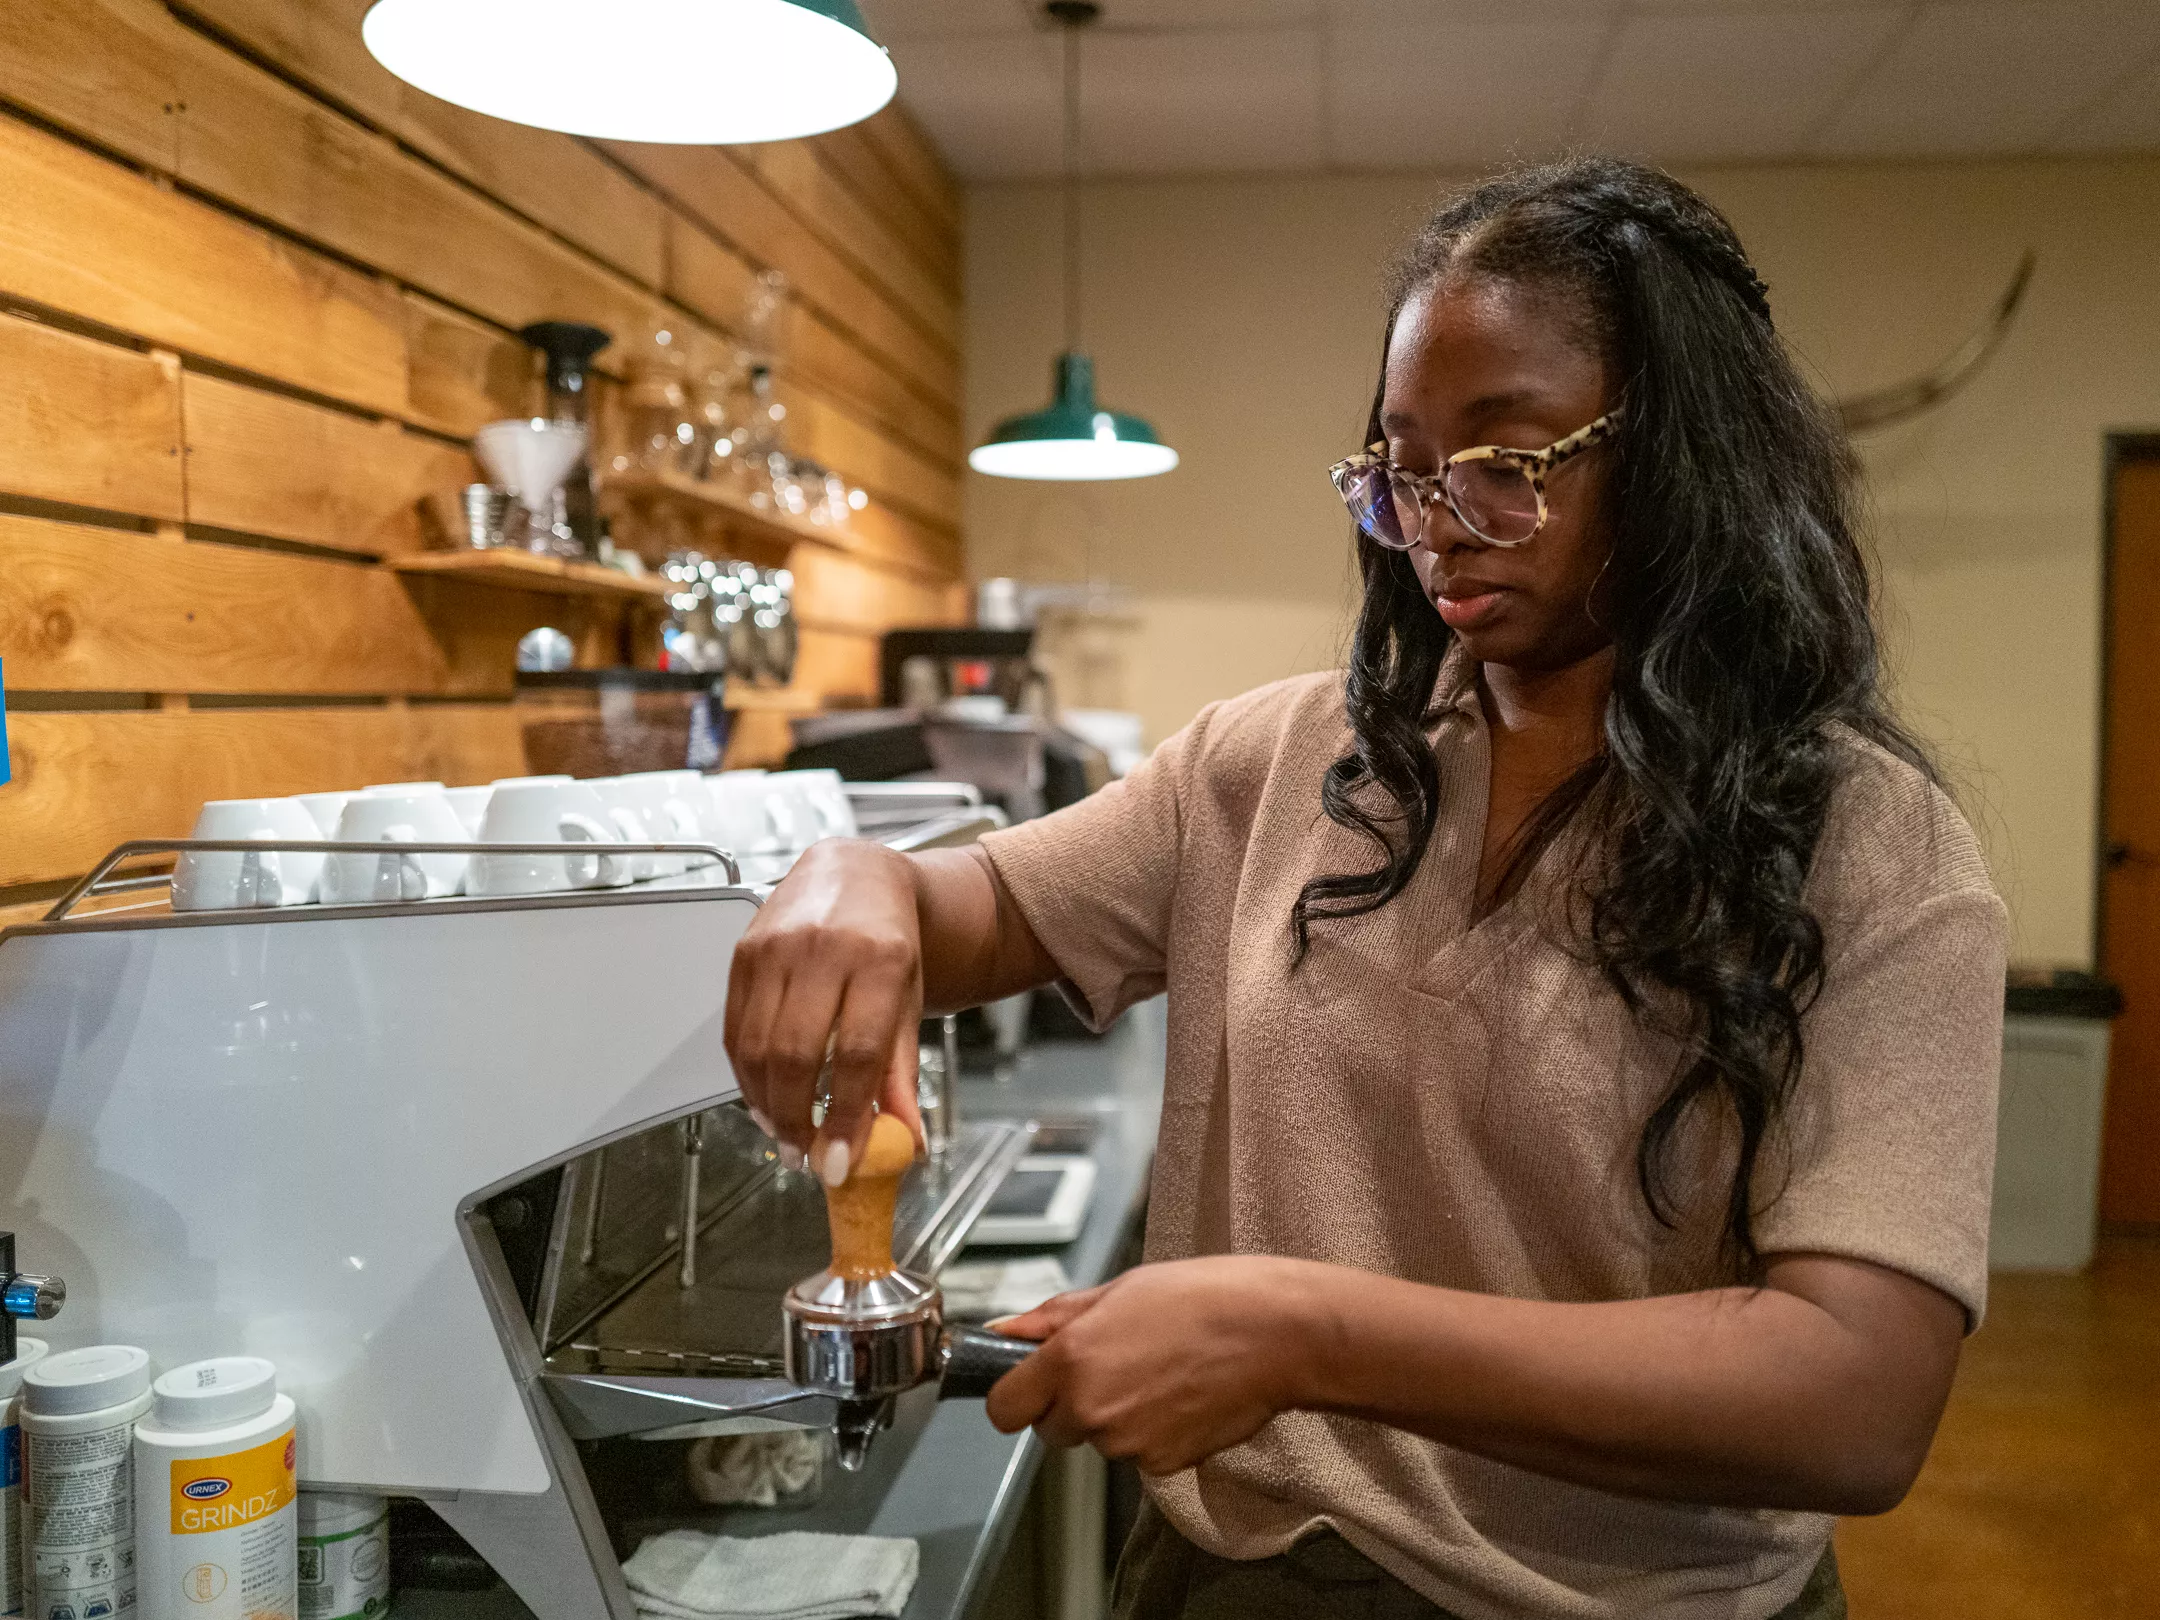
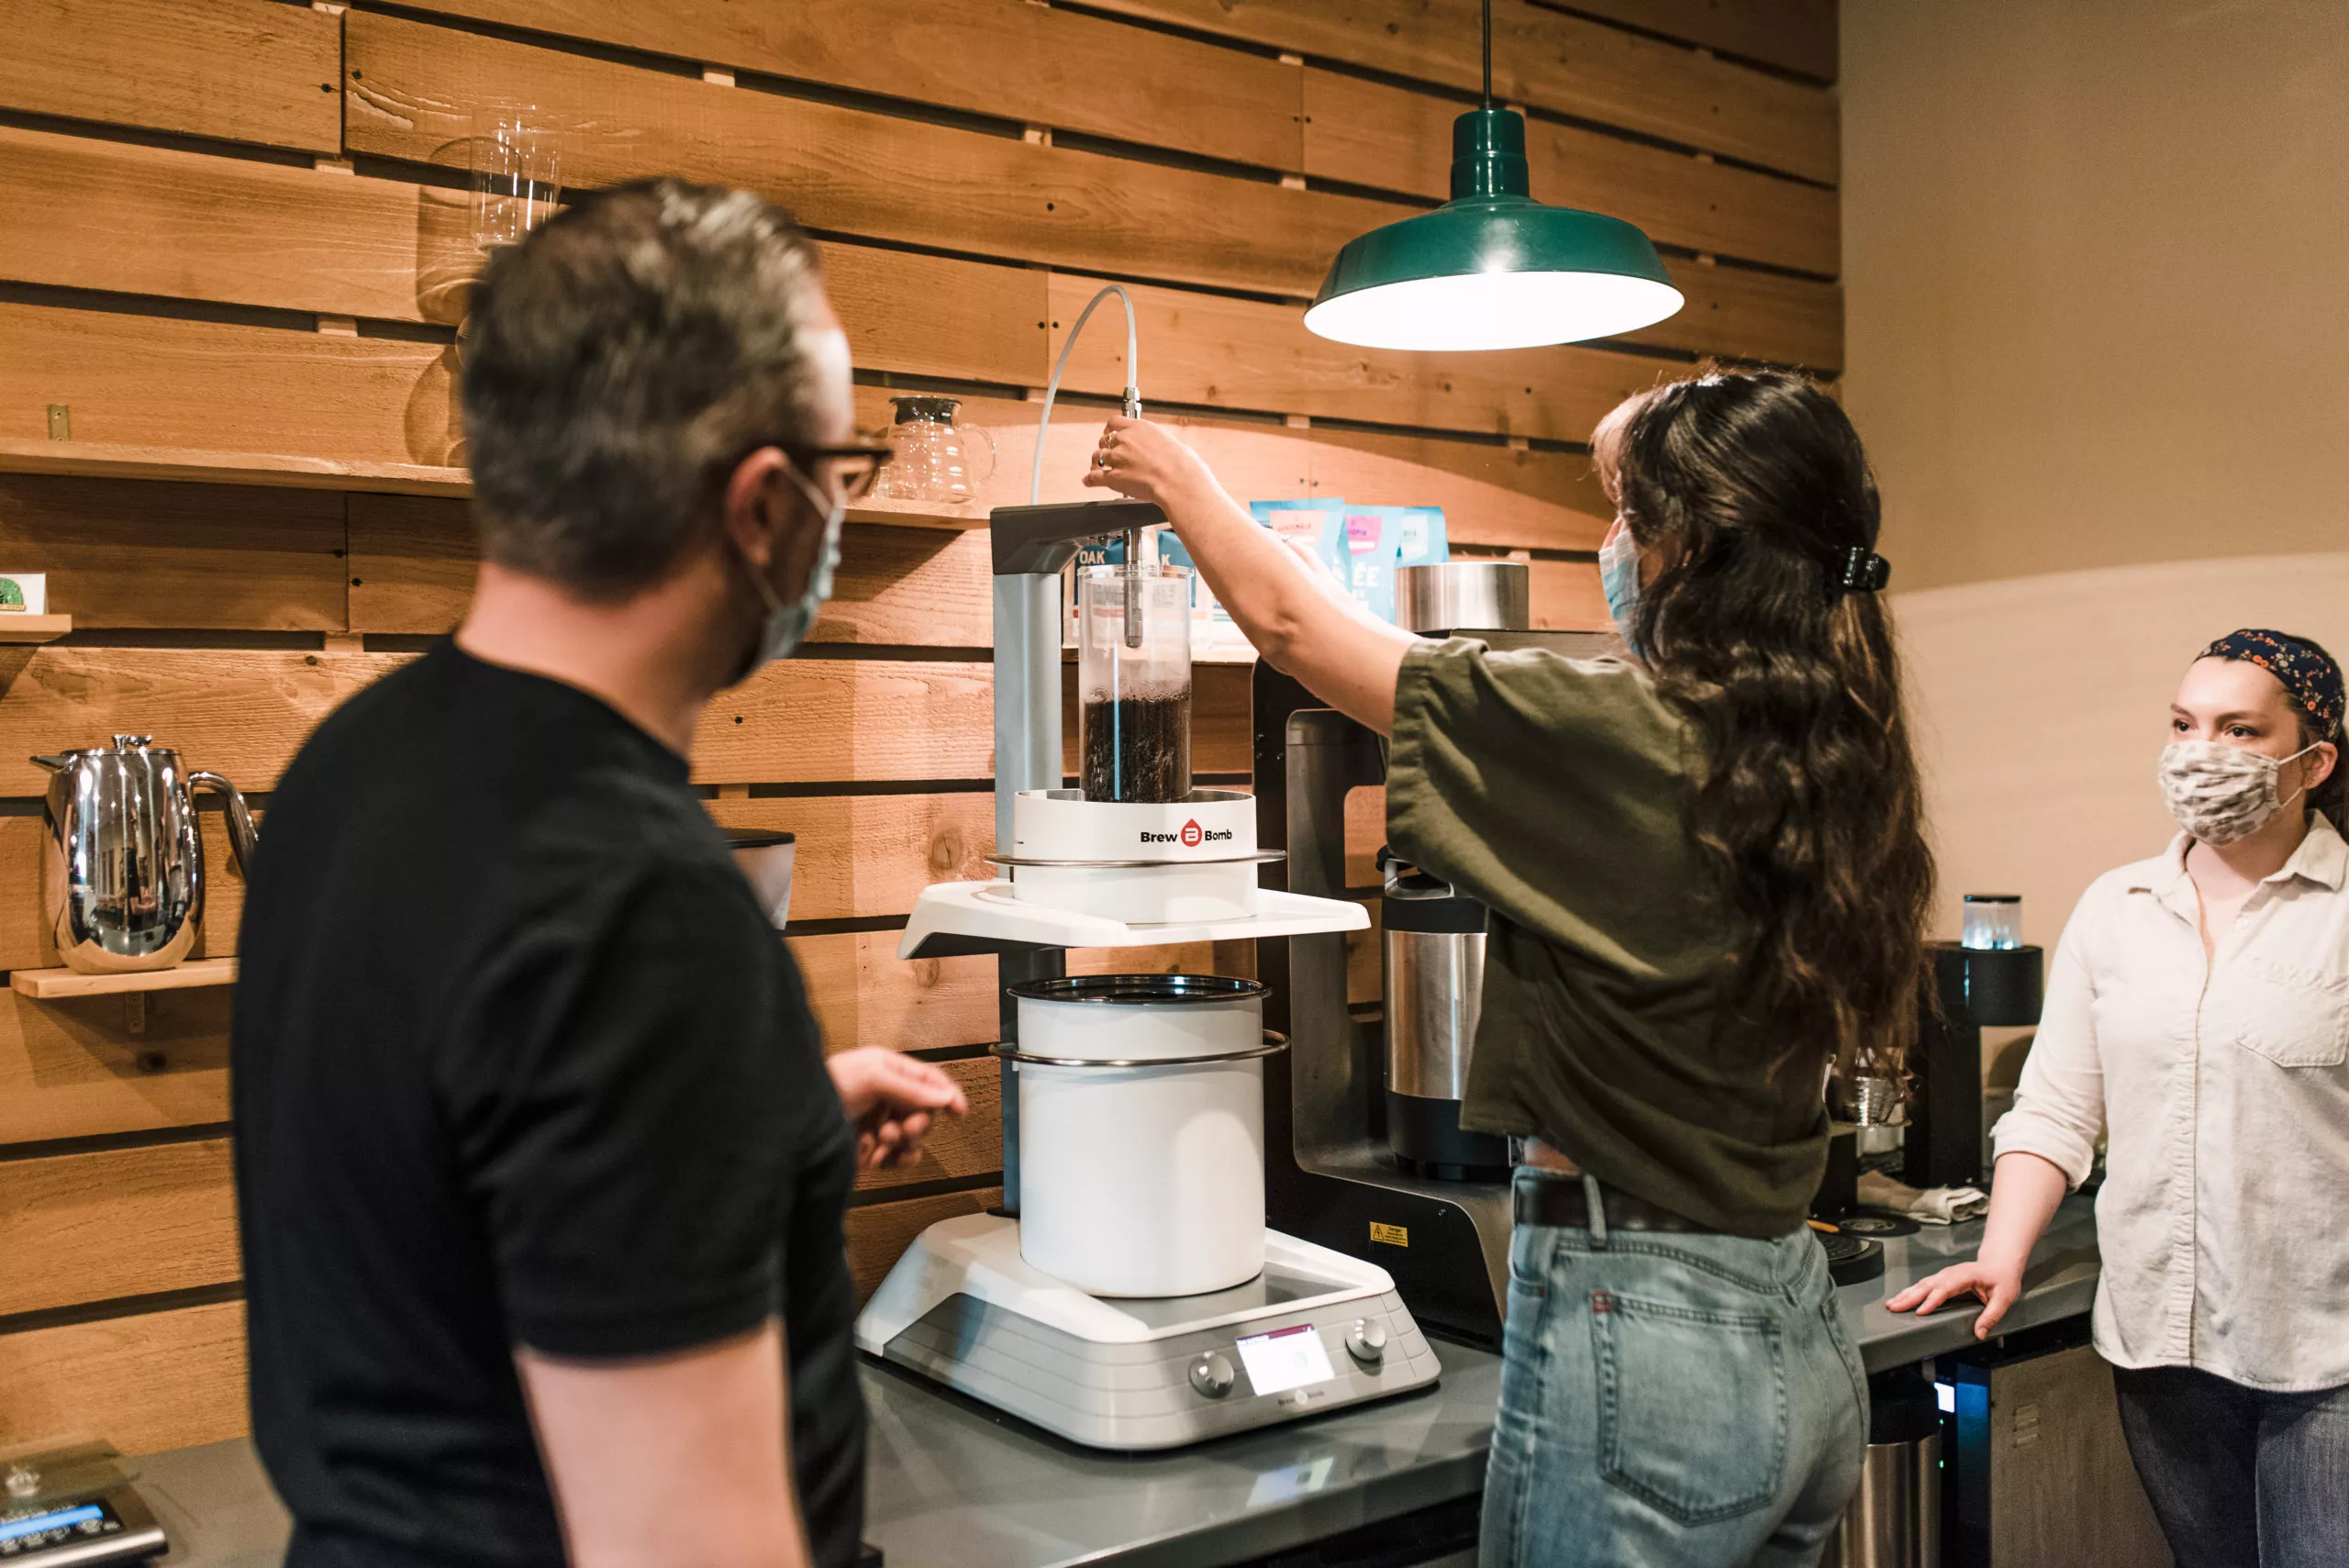
- A vacuum siphon coffee pot (Stovetop or Tabletop)
- A butane burner (if you have tabletop version)
- Cloth siphon filters (Only if your pot didn’t come with any)
- A digital kitchen scale
- A digital thermometer
- A digital timer
- A variable temperature electric gooseneck kettle for controlled pouring and accurate water temperature more quickly.
- Either a bamboo paddle, or butter knife
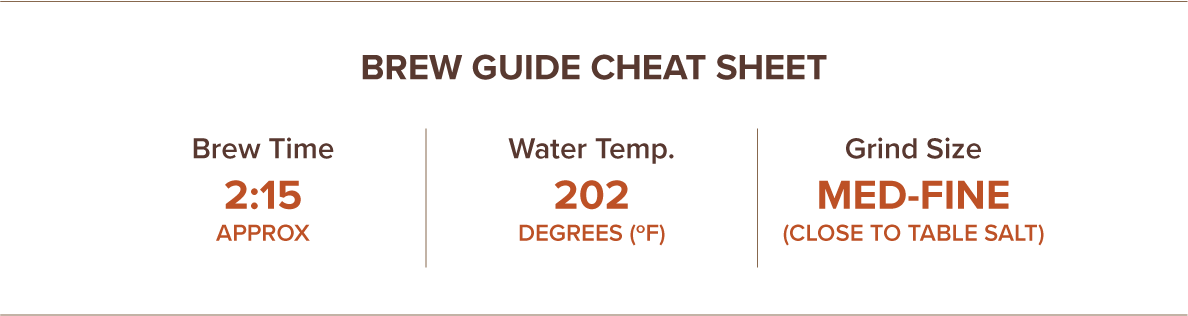
BREWING PARAMETERS:
COFFEE-TO-WATER RATIO:
26 grams of coffee to 375g water
GRIND SIZE:
Slightly finer than your drip setting. Slightly finer than typical granulated table salt.
BREW TIME:
Around 2 Minutes and 15 seconds
BREWING WATER TEMPERATURE: 202°F
If you are using an electric variable temperature kettle or a hot water tower, set your temperature to 200 degrees F.
STEPS FOR BREWING:
- Soak your cloth filter in hot water for around 1 minute. This will allow it to stretch and create a better fit around the metal disk. It will also help rinse away any undesirable flavors the cloth may impart. Place the metal filter disk face down on the cloth filter and pull the cinch strings tight while slowly adjusting the disk placement so that it remains centered in the filter. Tie the string into a firm knot and trim off any excess strings left.
- Install the filter by dropping it in the top vessel, and pulling the beaded metal cord down through the siphon tube and hooking it on the bottom. This keeps everything in place.
- We recommend heating your water in a separate electric kettle or with a hot water tower in a coffee shop. While you are waiting on your water to come up to temp, weigh out and grind 26g of coffee (slightly finer table salt – not as fine as an espresso setting, but not as coarse as drip. Similar to an Aeropress grind setting if that helps).
- Place the upper chamber to the side in the plastic holder. Place the lower globe on your scale and press tare to zero it out. When the water in the electric kettle reaches 200 degrees, carefully add 375g of the hot water to the lower globe.
- Set the upper chamber on top of the globe and seal in place. Now place your burner/heat source underneath the globe and crank up the heat to bring the water to a boil.
- Once the water has moved up into the upper chamber, turn your heat source down and use your thermometer to monitor the temperature until that the water drops to between 200-202 degrees F and holds steady.
- While simultaneously starting your timer (counting up) add your coffee into the upper chamber (which should now be full of the water) and gently (but thoroughly) submerge it all with a bamboo paddle or butter knife. It is important that you have all the coffee fully saturated within 3-5 seconds. Do not stir in a circular manner, use a linear motion instead.Note: If you did this correctly, the coffee should convene back at the top as a thick floating crust. Try to avoid creating a whirl pool movement. If you get the brew moving in a whirlpool, it will continue spinning and cause excess turbulence, which can lead to over extraction.
- Let the coffee brew/steep, undisturbed, for 1 minute and 10 seconds.
- After the undisturbed steep, cut the heat completely and remove the burner from underneath the bottom globe (if you are safely able). Quickly thereafter, give it 8 to 10 gentle stirs around the outside edge with a your bamboo paddle. If the brew has not begun to draw down by the end of the second stir, blow on the bottom globe or carefully touch it with a cool damp cloth.
- The drawdown should last for approximately 60 more seconds, even slight differences in drawdown times can have major effects on flavor. You’ll know it’s ready when a dome of grounds has formed at the top of the filter, and when the coffee at the bottom has begun to bubble. Remove the top chamber carefully by slowly rocking it in a circular fashion until the seal is broken and it can be lifted free. Now it’s time to pour and enjoy!
- Be sure to clean your siphon soon after brewing. The cloth filter should be rinsed very throughly with hot water before reuse. We recommend using a filter no more than 7 or 8 times before replacing it.
GOOD PRACTICES:
- Adjust parameters to compensate for individual coffee characteristics.
- Small changes in technique can result in big flavor changes, so be sure to use consistent heating, timing, and stirring techniques.
- If coffee tastes harsh, metallic, or medicinal, temperature is likely too hot or your draw down took too long. Isolate one variable at a time to troubleshoot. If the coffee tastes papery and under developed, your grind may be too coarse, or you need to wait a little longer to begin draw down. Again, adjust parameters one at a time to isolate the issue.
CONTINUE YOUR COFFEE EDUCATION
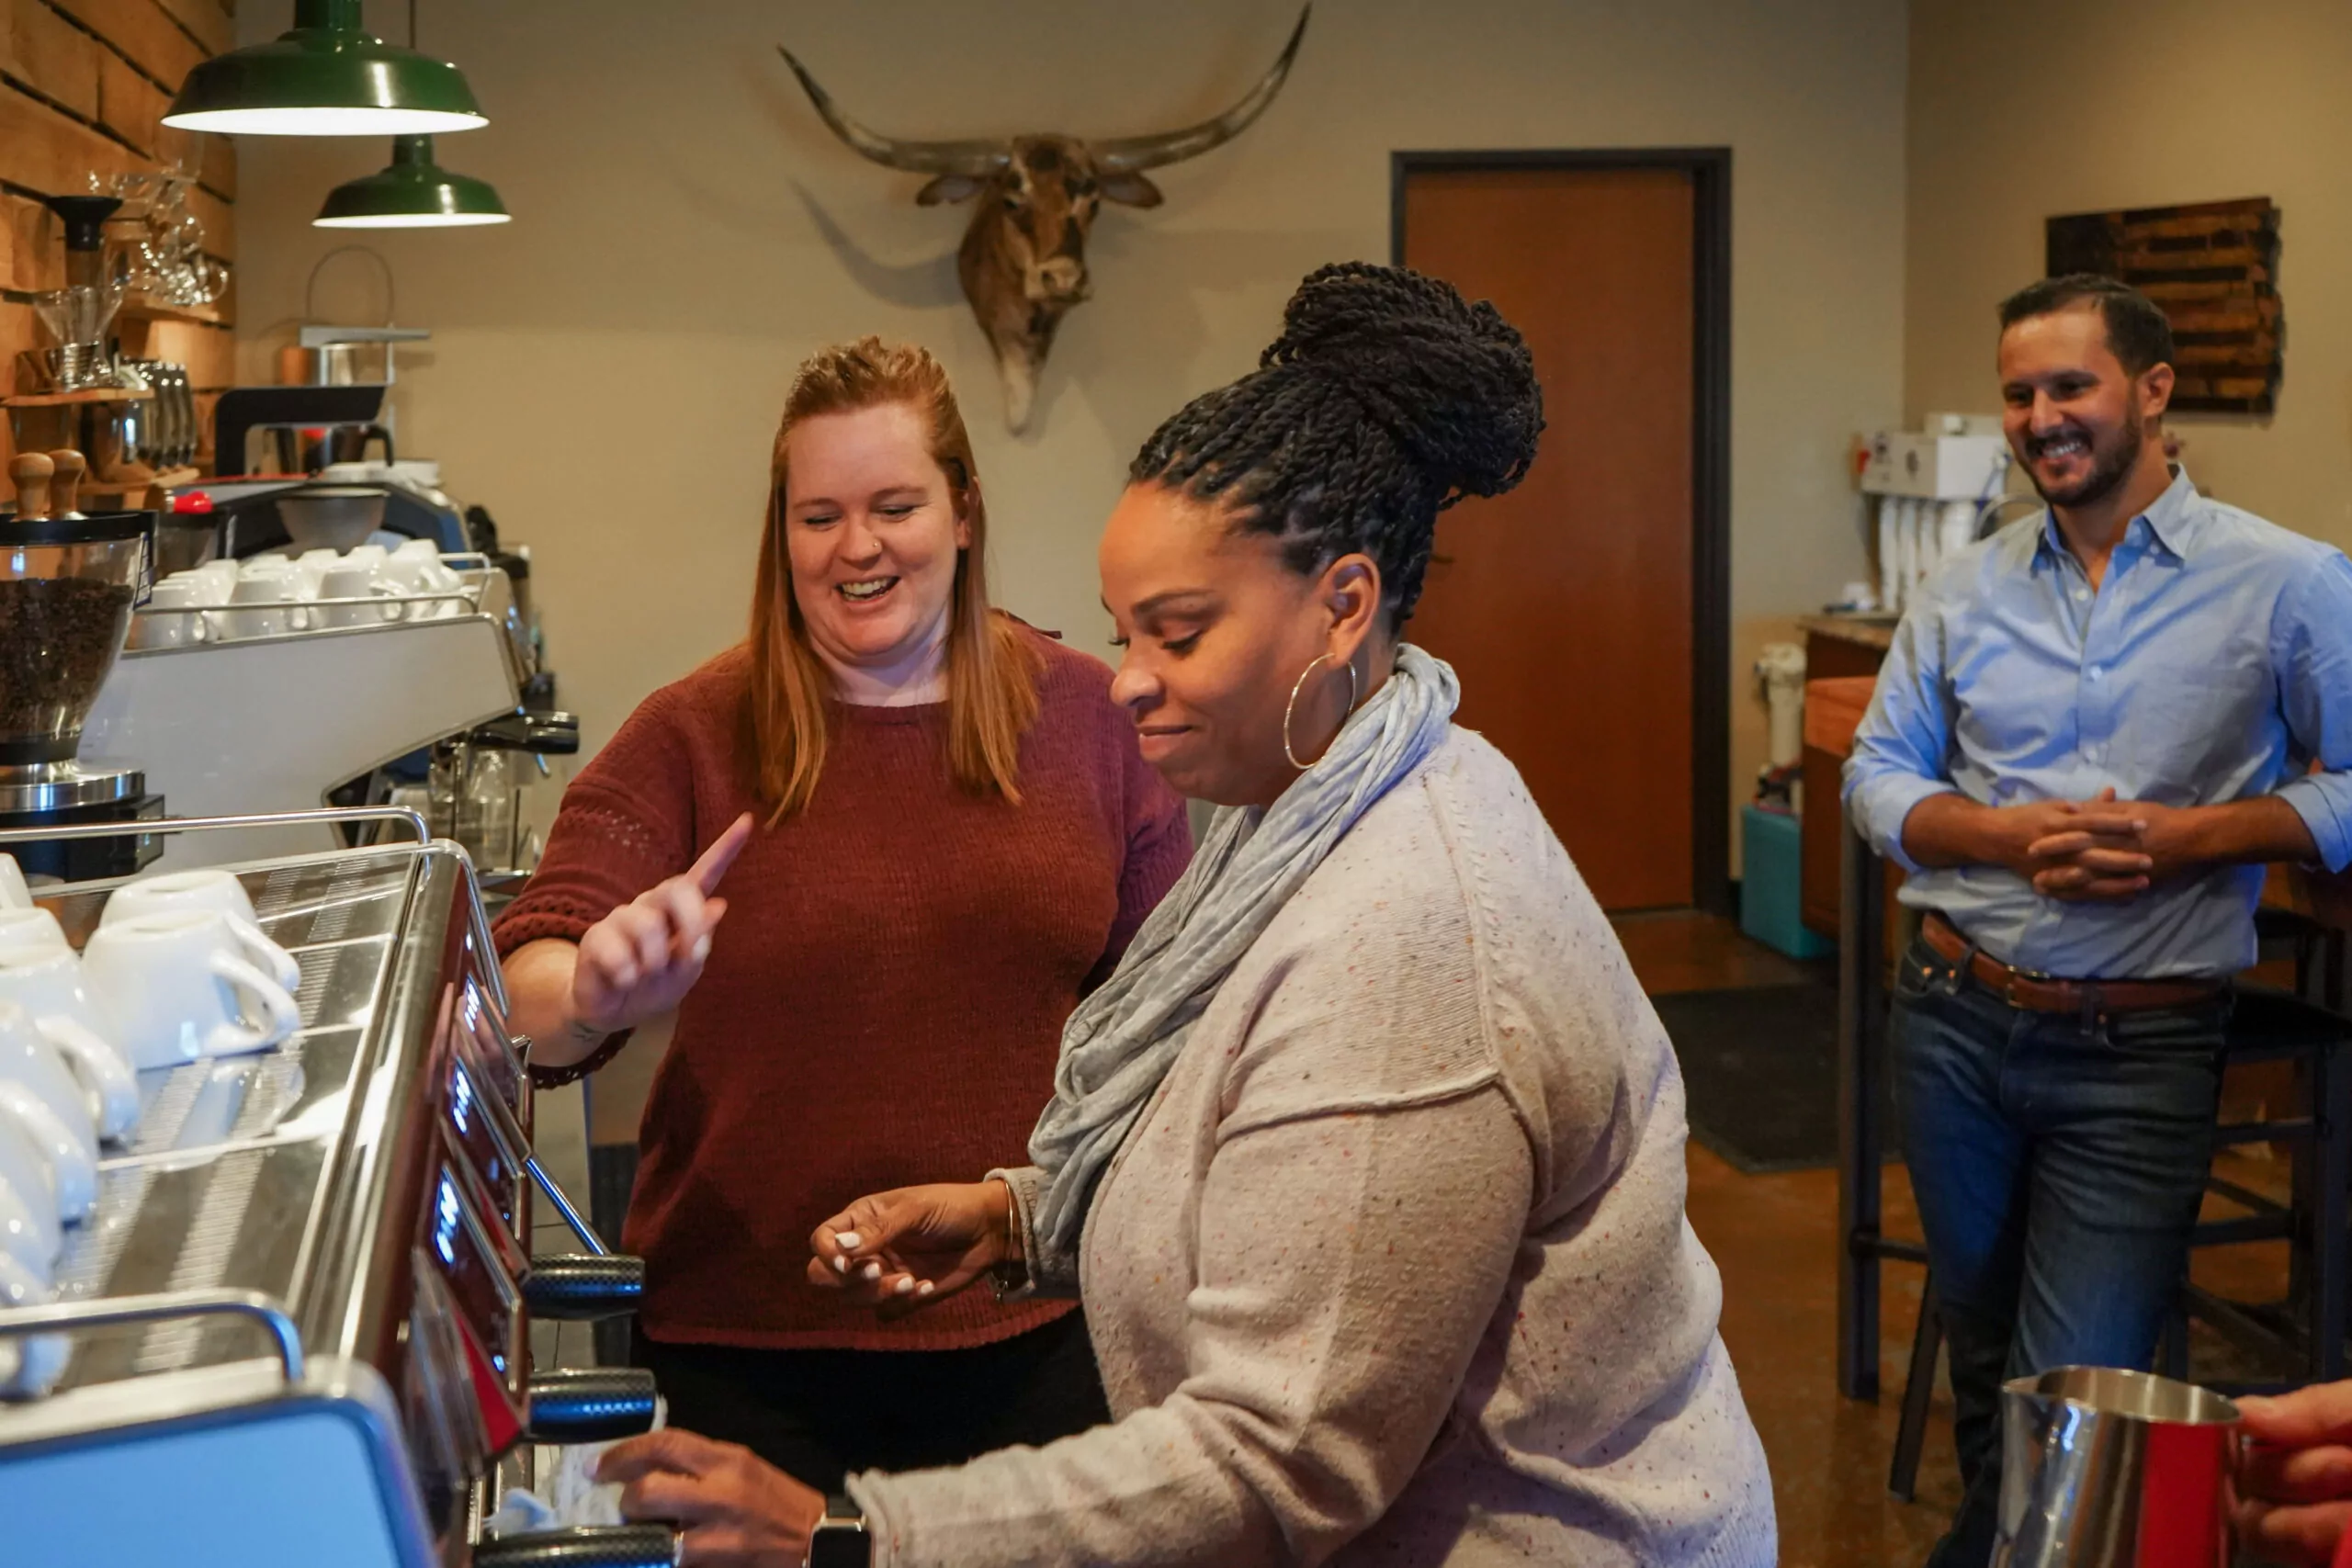
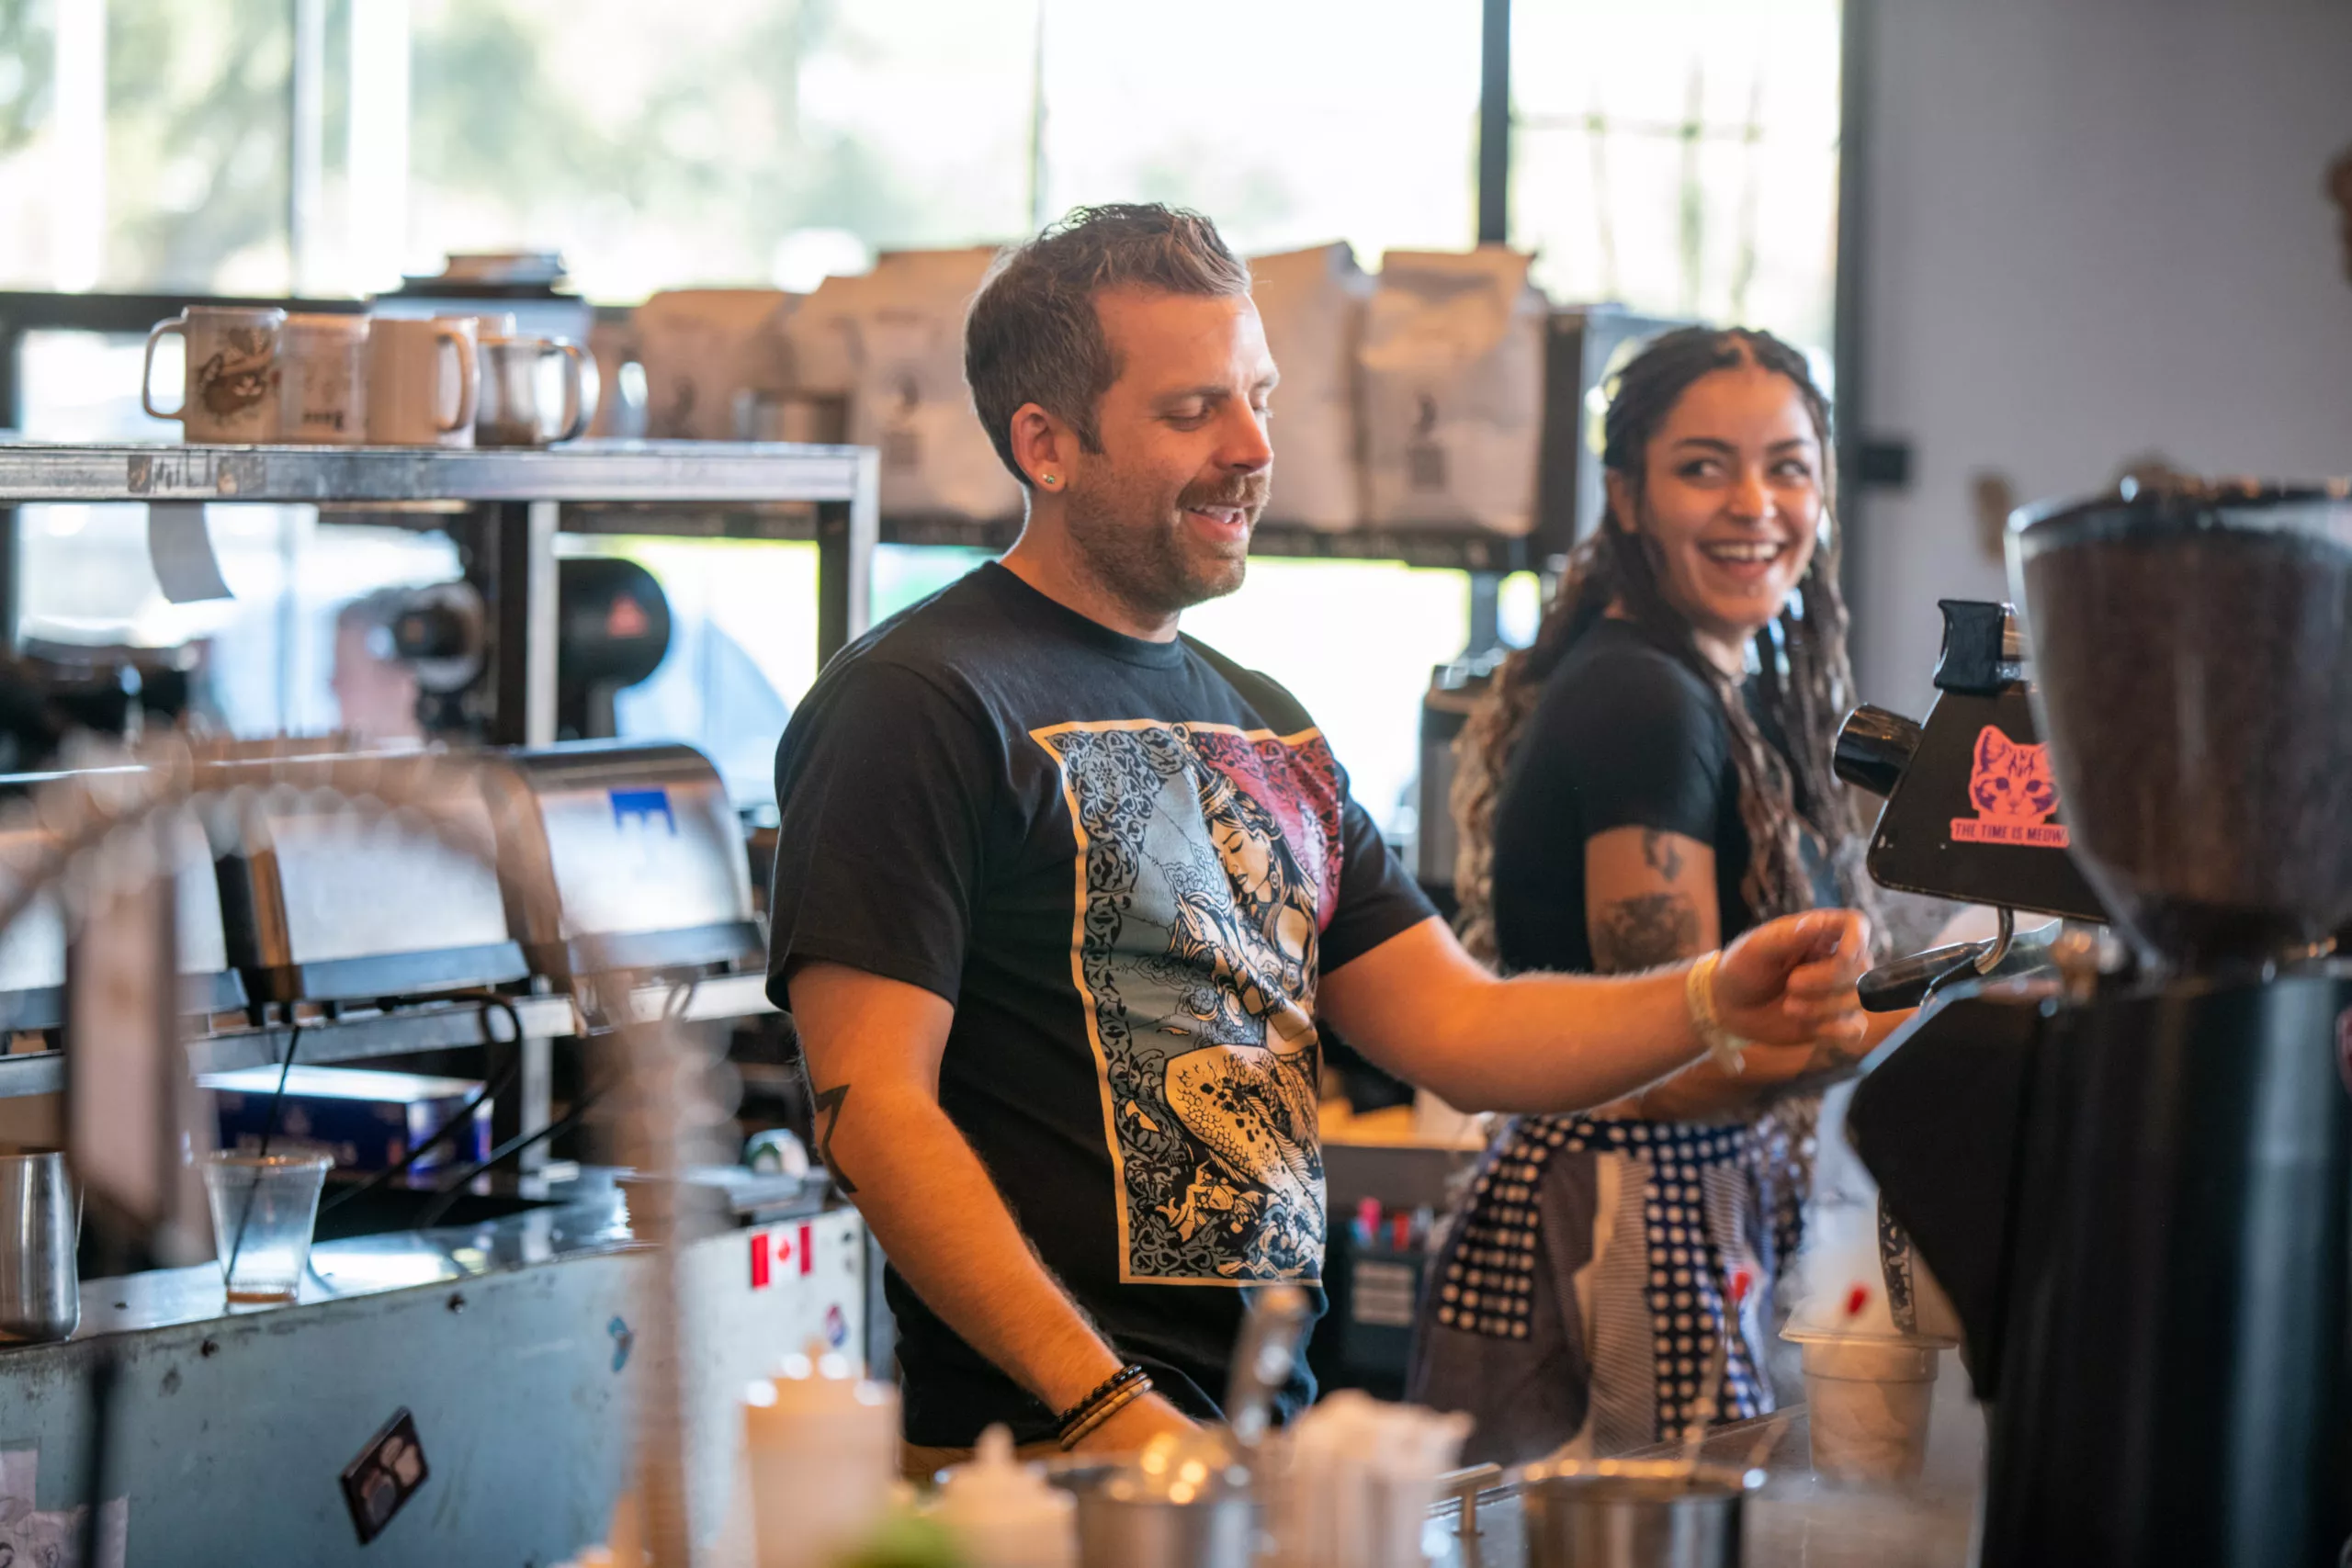
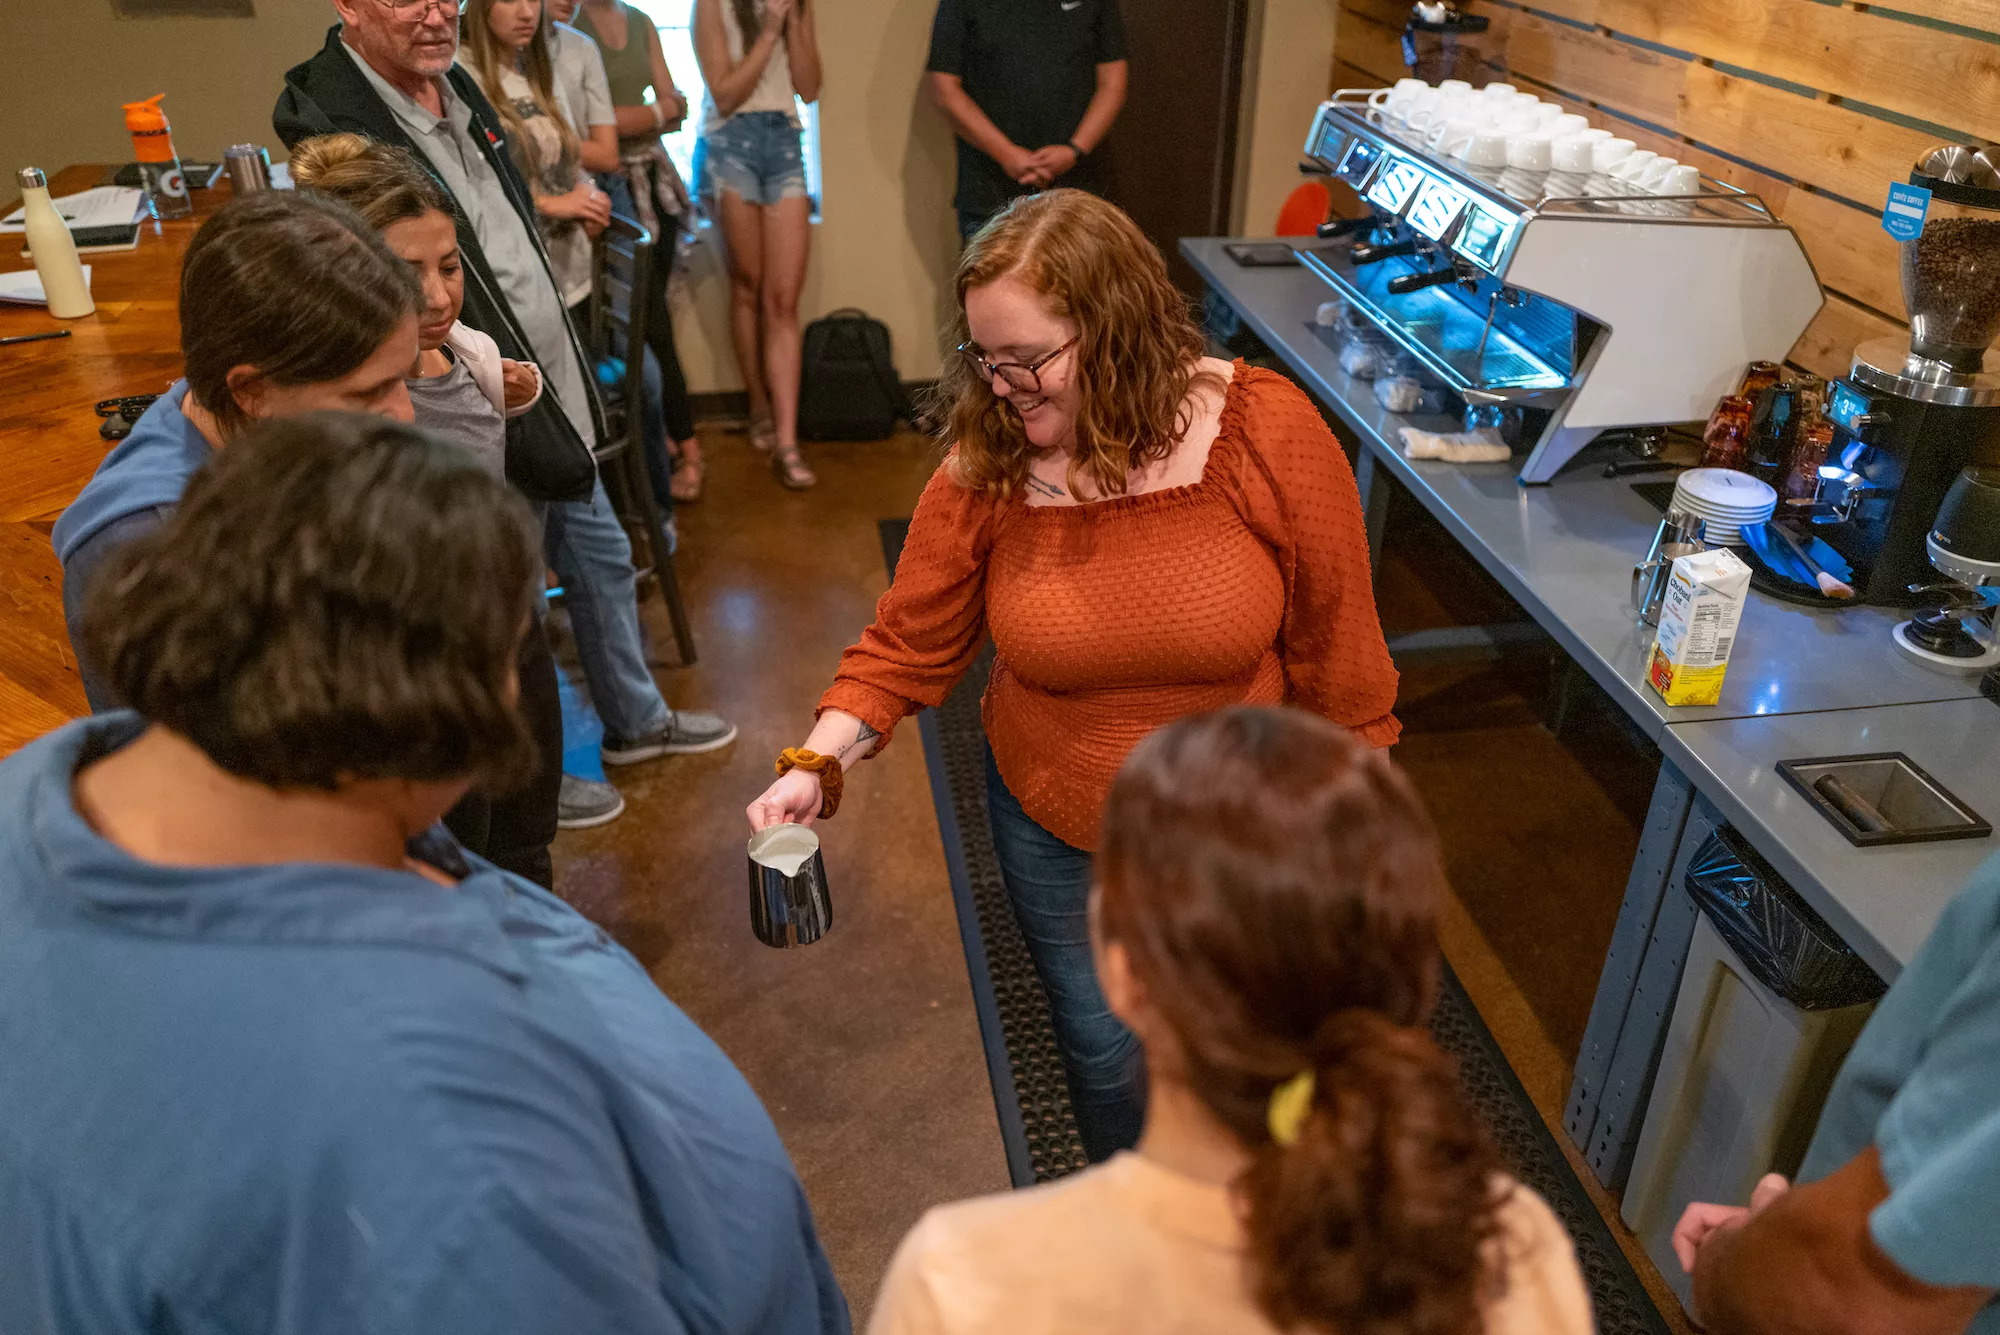
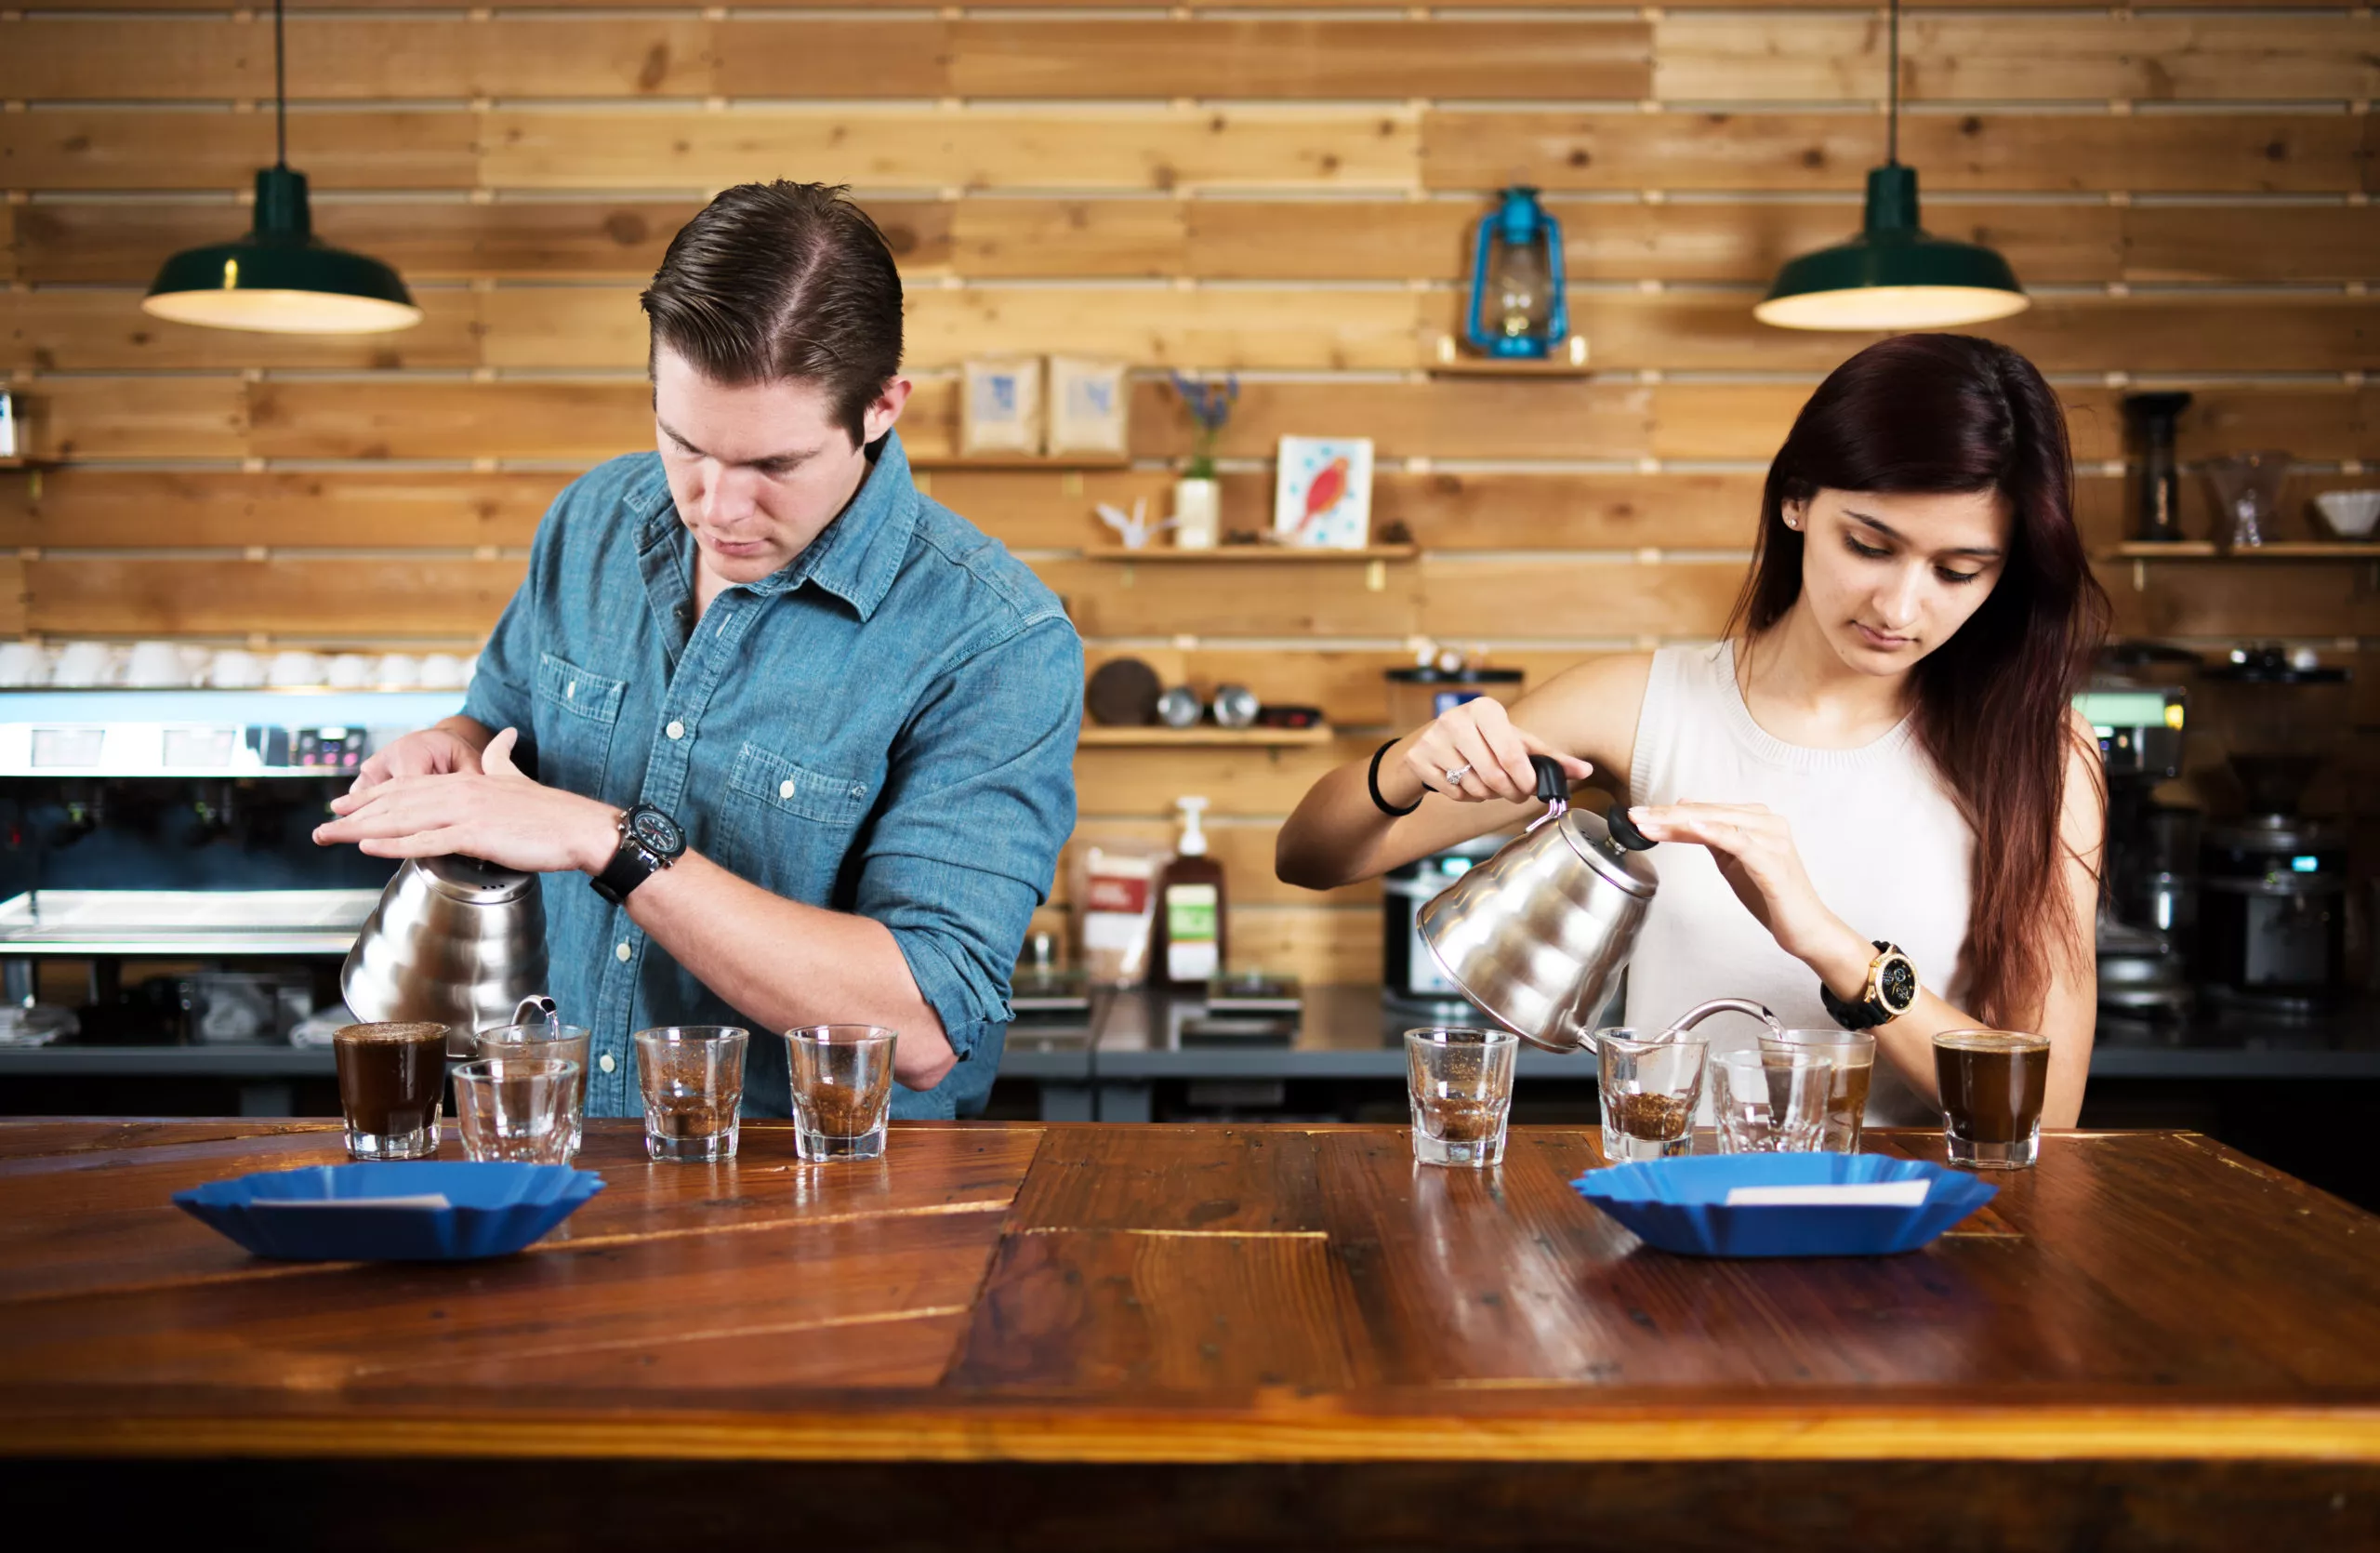
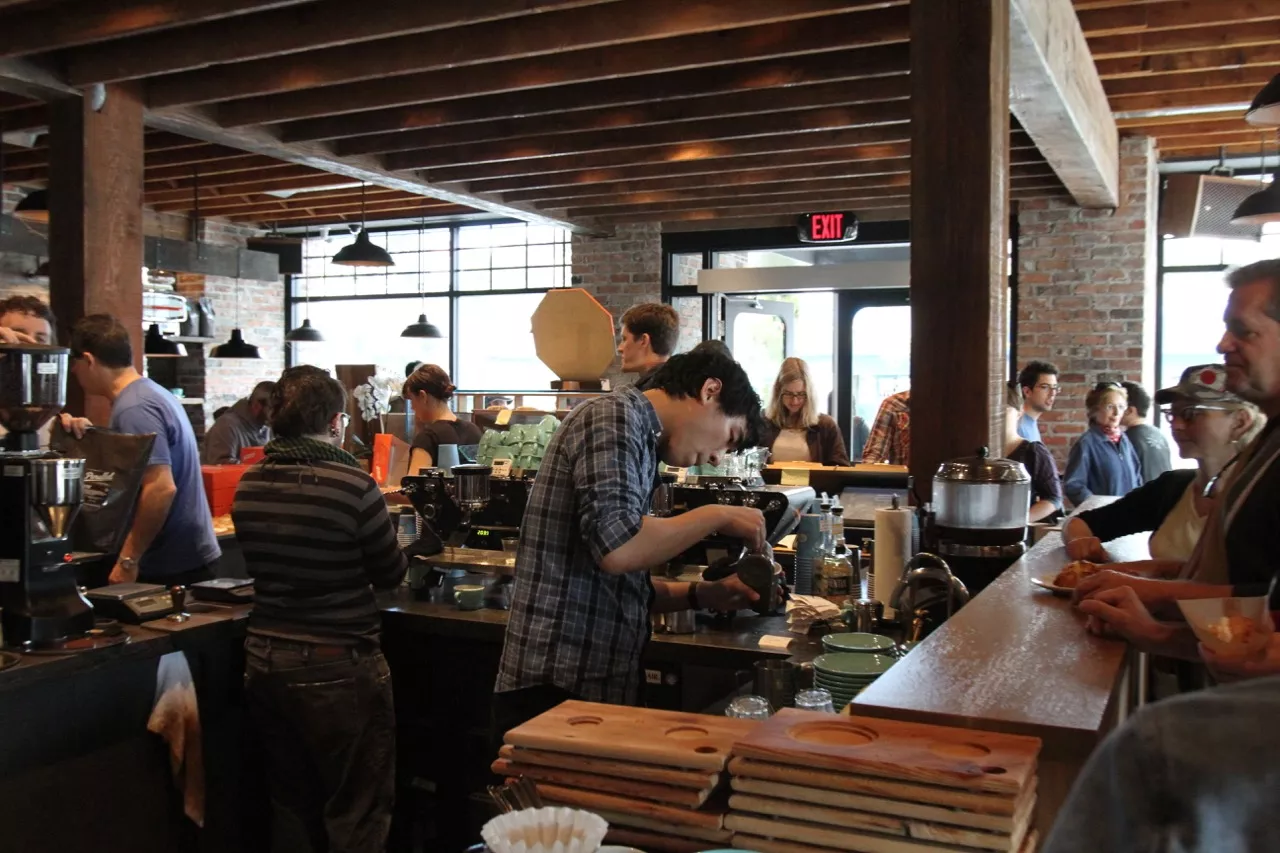
Texas Coffee School offers a variety of coffee and barista training classes that can enhance your coffee knowledge and brewing skills.
Featured Classes
Register for a Coffee Class
The Best Coffee Training Available
We’ve helped hundreds of students successfully launch their own coffee shop businesses. Join us in our 5-Star Rated Coffee Classes, whether you’re an aspiring entrepreneur looking to open a coffee shop, a manager, a barista or home enthusiast looking to sharpen your skills.